关于本文档
如果有小伙伴好奇这个文档是怎么搭建起来的,这里做一个简单的介绍。
我们使用的是 Read the Docs,一个免费的在线文档托管系统,官网。托管文档的基本流是 Sphinx + GitHub + Read the Docs,即 Sphinx 作为编辑器框架生成与撰写文档,GitHub 作为仓库存放文档,再导入到 Read the Docs 进行托管。
Sphinx 文档框架
Sphinx 是一个文档创建的框架工具,可以轻松创建智能、美观的文档。它最开始只用来写 Python 文档,后来渐渐发展成熟。其使用 reStructuredText 作为其标记语言,具备强大的解析性,另外的一些相关套件可以提供强大的翻译特性。
这里介绍一下该文档使用 Sphinx 创建文档项目的流程。
初始化项目
整个项目基于 Python,文档内容使用 reStructuredText 或 Markdown 编写;
使用指令
sphinx-quickstart初始化一个标准的文档项目;初始化过程步骤,第一项务必选择
no;conf.py用于定义项目基本配置,可编辑;index.rst用于定义呈现出来的文档结构,可编辑;⚠️ 尤其注意语法格式。
# install with pip3
pip install sphinx recommonmark sphinx-rtd-theme sphinx-autobuild

# quick init one docs project
sphinx-quickstart

# quick init steps
> Separate source and build directories (y/n) [n]: n # must be no
> Project name: Demo Prj
> Author name(s): tommy
> Project release []:
> Project language [en]:
初始的项目结构。
# init prj tree
# 3 directories, 4 files
.
├── Makefile  # auto file
├── _build # output dir
├── _static # figs, codes...
├── _templates # temps
├── conf.py # conf.py, important
├── index.rst # index.rst, important
└── make.bat # auto file

# if separate build and source dir
# 4 directories, 4 files
.
├── Makefile
├── build
├── make.bat
└── source
    ├── _static
    ├── _templates
    ├── conf.py
    └── index.rst
定义文档结构
index.rst 也被称为 mastar-document,是文档的主入口,或者说默认的起始页。起始页一般包含的是整个文档的目录,当然也可以自定义完善的其他结构。
整个文档可以自定义,但必须包含
toctree::指令。指令指的是 reStructuredText 的语法以及 Sphinx 为其添加的语法。例如下面
..就是注释开头,.. Command::是指令的基本结构,*是无序列表,:ref: term是索引跳转链接。toctree::指令决定了右侧目录显示哪些层级、文件。显示的名称由文件的主标题决定。
.. here's some init comments

# Welcome to Demo Prj's documentation!

.. toctree::
:maxdepth: 2
:caption: Contents:

# Indices and tables

-   :ref:`genindex`
-   :ref:`modindex`
-   :ref:`search`
套用主题
conf.py 是项目的配置文件,在这里配置项目的关键信息,例如主题配置文件。
# conf.py

import sphinx_rtd_theme

# ---------------------------- Project information --------------------------- #

project = "NaMI Server Docs"
copyright = "2020, nami-442"
author = "tommy@nami-442"

# --------------------------- General configuration -------------------------- #

extensions = [
    "sphinx_rtd_theme",
    "sphinx.ext.autodoc",
    "sphinx.ext.napoleon",
    "sphinx.ext.mathjax",
    "recommonmark",
]
master_doc = "index"
exclude_patterns = ["_build"]

# -------------------------- Options for HTML output ------------------------- #
# ref: https://sphinx-rtd-theme.readthedocs.io/en/latest/configuring.html#

html_theme = "sphinx_rtd_theme"
html_theme_options = {
    # toc options
    "navigation_depth": 3,
    "includehidden": True,
    "titles_only": False,
    # display options
    "display_version": False,
    "style_external_links": True,
}
html_logo = None
html_favicon = None
html_last_updated_fmt = "%b %d, %Y"
html_show_sphinx = False
html_baseurl = "./files"
Note
Sphinx 项目的配置选项都保存在该文件内。
组织文档文件
文档文件可以放在根目录下的任意位置,在 toctree:: 里面指定对应的路径即可。当然,需要首先在 index.rst 文件里面定义该变量。
.. toctree::
   :maxdepth: 2
   :titlesonly:
   :caption: Configuration

   files/configuration/0x01
   ...
# dir structure
...
├── files
│   ├── configuration
│   │   ├── 0x01.md
│   │   ├── ...
│   │   └── 0x08.md
│   └── user_manual
│       └── manual_conda.md
...
Note
推荐使用一个目录存放所有 md 文件。本项目使用了 files 文件夹,所以在 url 中可以看到这一字段。
支持 .md 文件
Sphinx 默认支持的文档文件是 .rst,但可以使用第三方模块 recommonmark 使其支持 .md 文件。后者相对来说只是一种简单的兼容模式,前者的语法特性更加完善。
在
conf.py文件中引入模块 recommonmark 即可。另外,还可以该模块下的 AutoStructify Component,使得
.md文件转换为,.rst文件(语法转义),具体说明见这里,也可以参考下一篇文档。
extensions = ["sphinx_rtd_theme", "recommonmark"]
编译项目
编译之后,产出文件将会出现在 _build 文件夹,用于本地预览。
可以使用
sphinx-build或make两种编译指令;预览方法很简单,在
_build文件夹内找到index.html打开即可。编译的文件仅仅用于本地预览,与实际托管网站效果有一定区别。
# using sphinx-build
sphinx-build -b html sourcedir builddir # -b [output_type]

# using make
make html
Github 存放文档
目前,Read the Docs 仅支持导入 Github 上的项目。
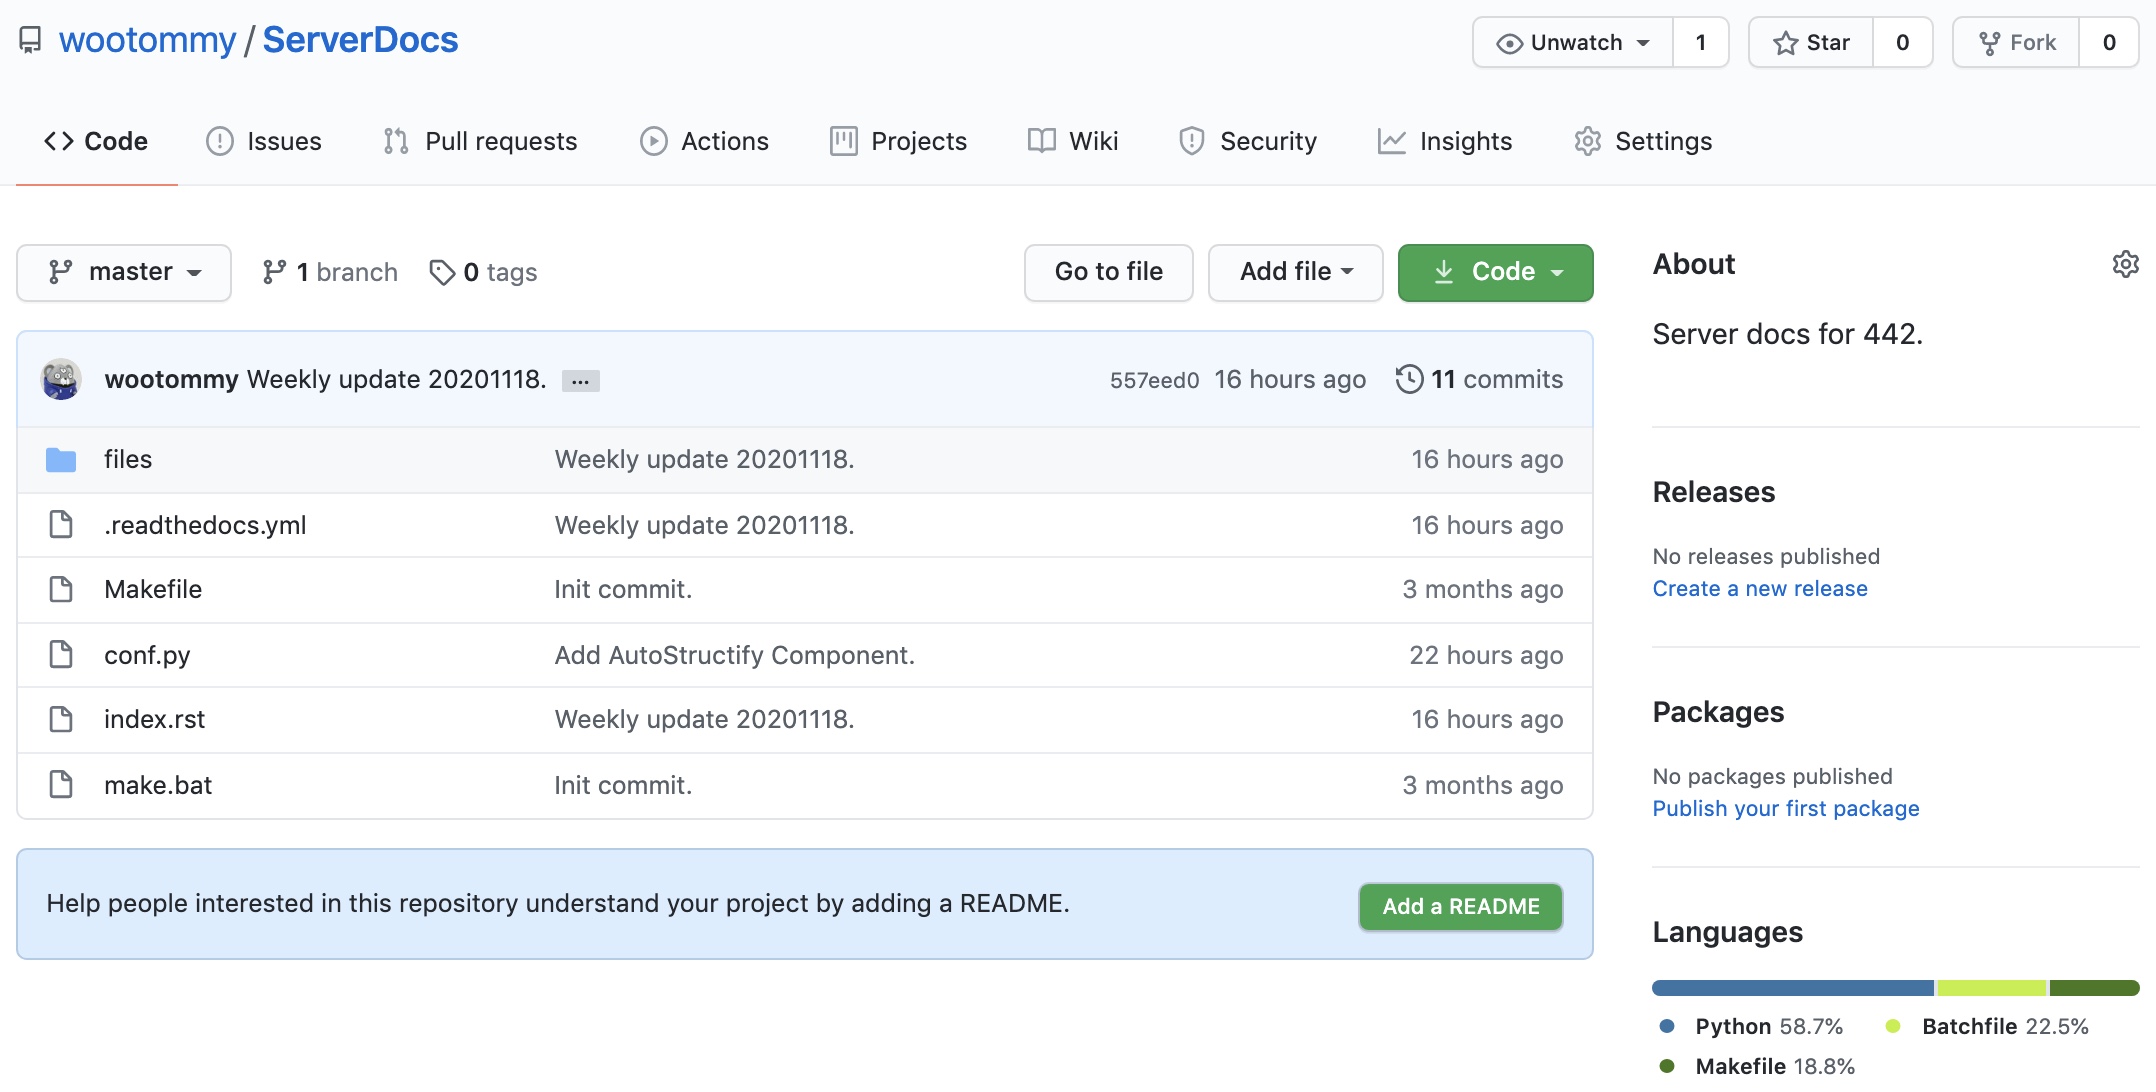
对于该文档,对应的 Github 仓库中只包括了文档代码。Read the Docs 也支持 hook 到项目的某个文件夹。因此为文档创建单独的项目不是必须的,它可以存在于某个项目其中一个文件夹中,只需要设置好对应的配置路径即可。
上传项目之前,我们需要添加对应的 gitignore 规则,忽略无需上传的文件,例如输出文件夹
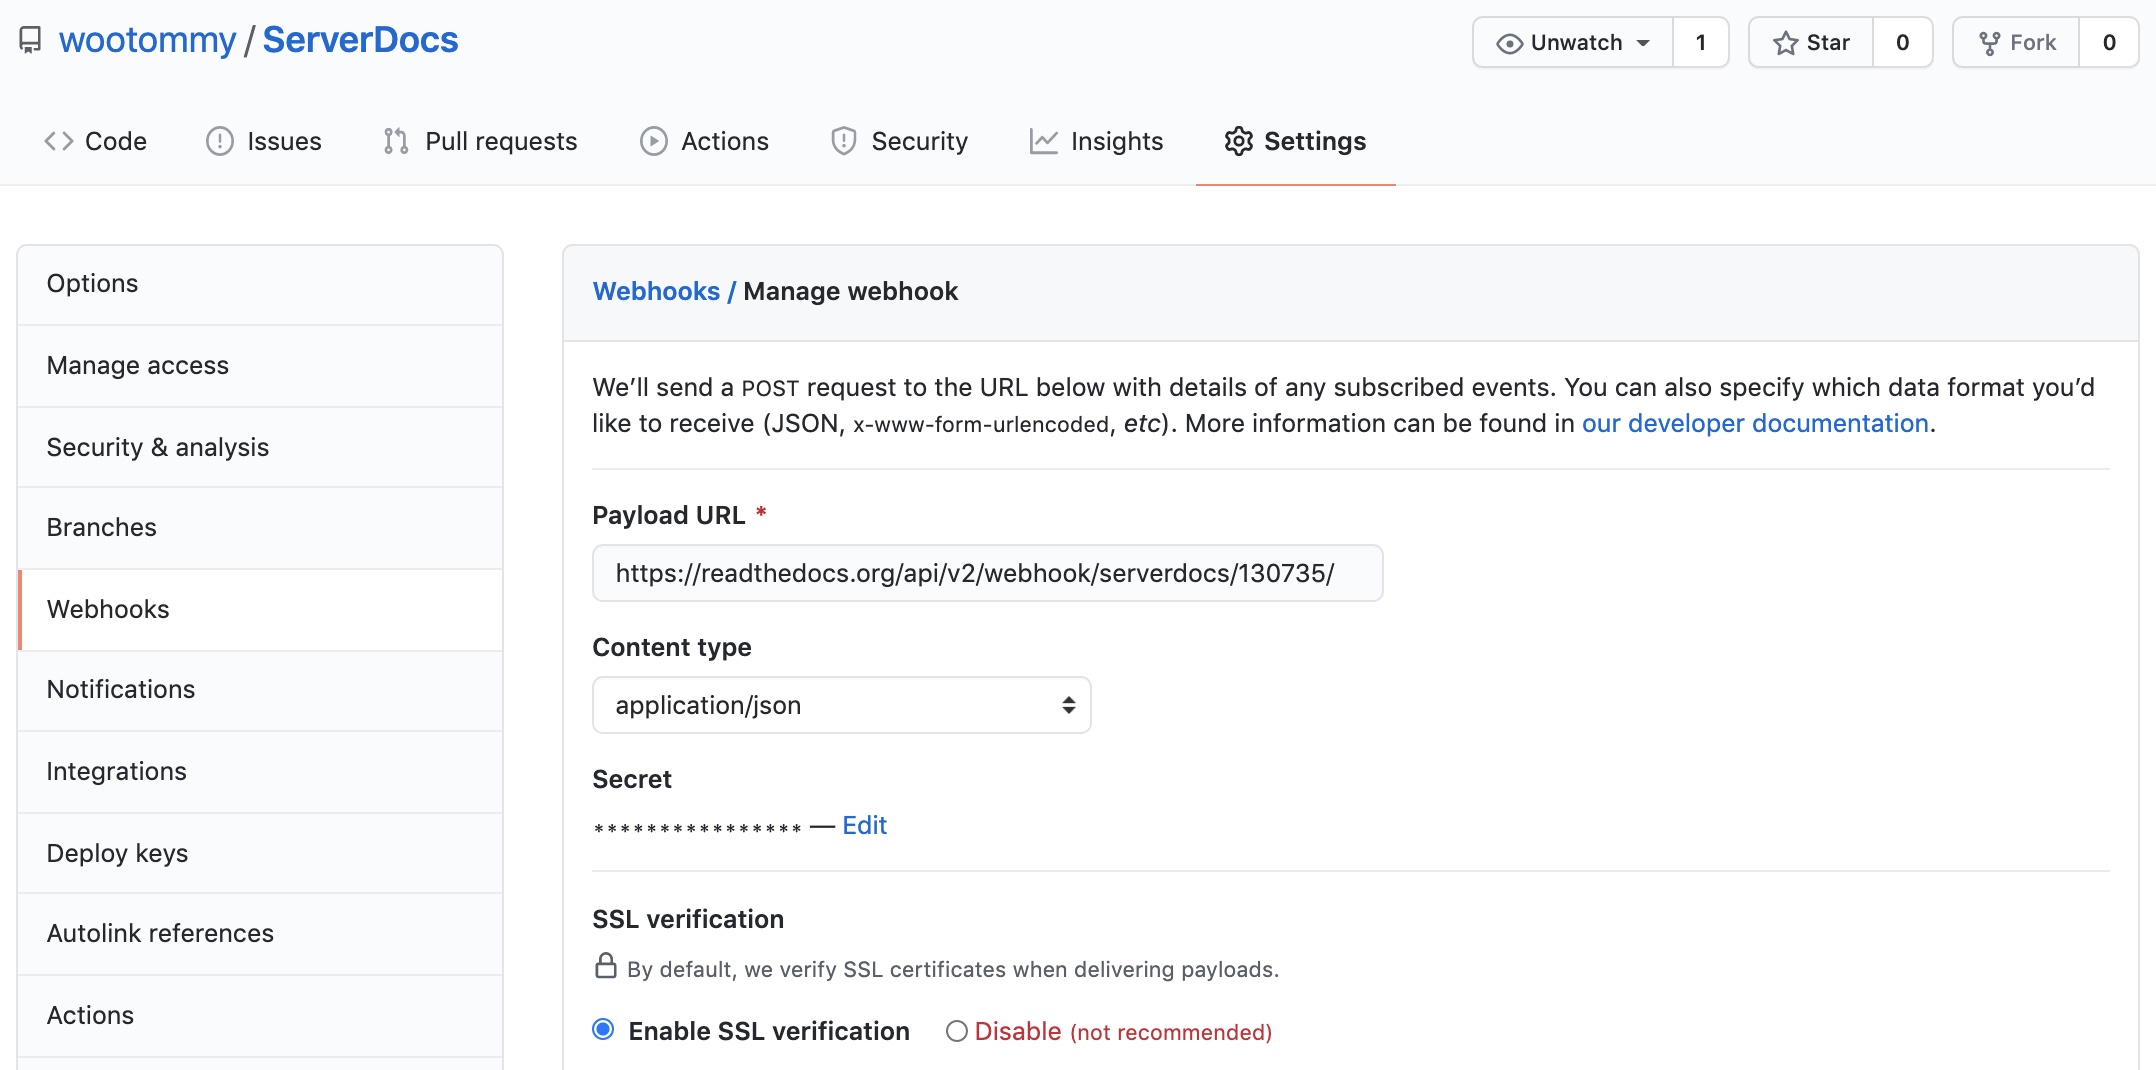
_build。# .gitignore .vscode _build项目可能需要一些额外的设置,主要关于 Webhooks,参考这里。如果默认配置不成功,需要手动添加新的 Webhook,具体的流程在 Read the Docs 网站的管理面板也有。
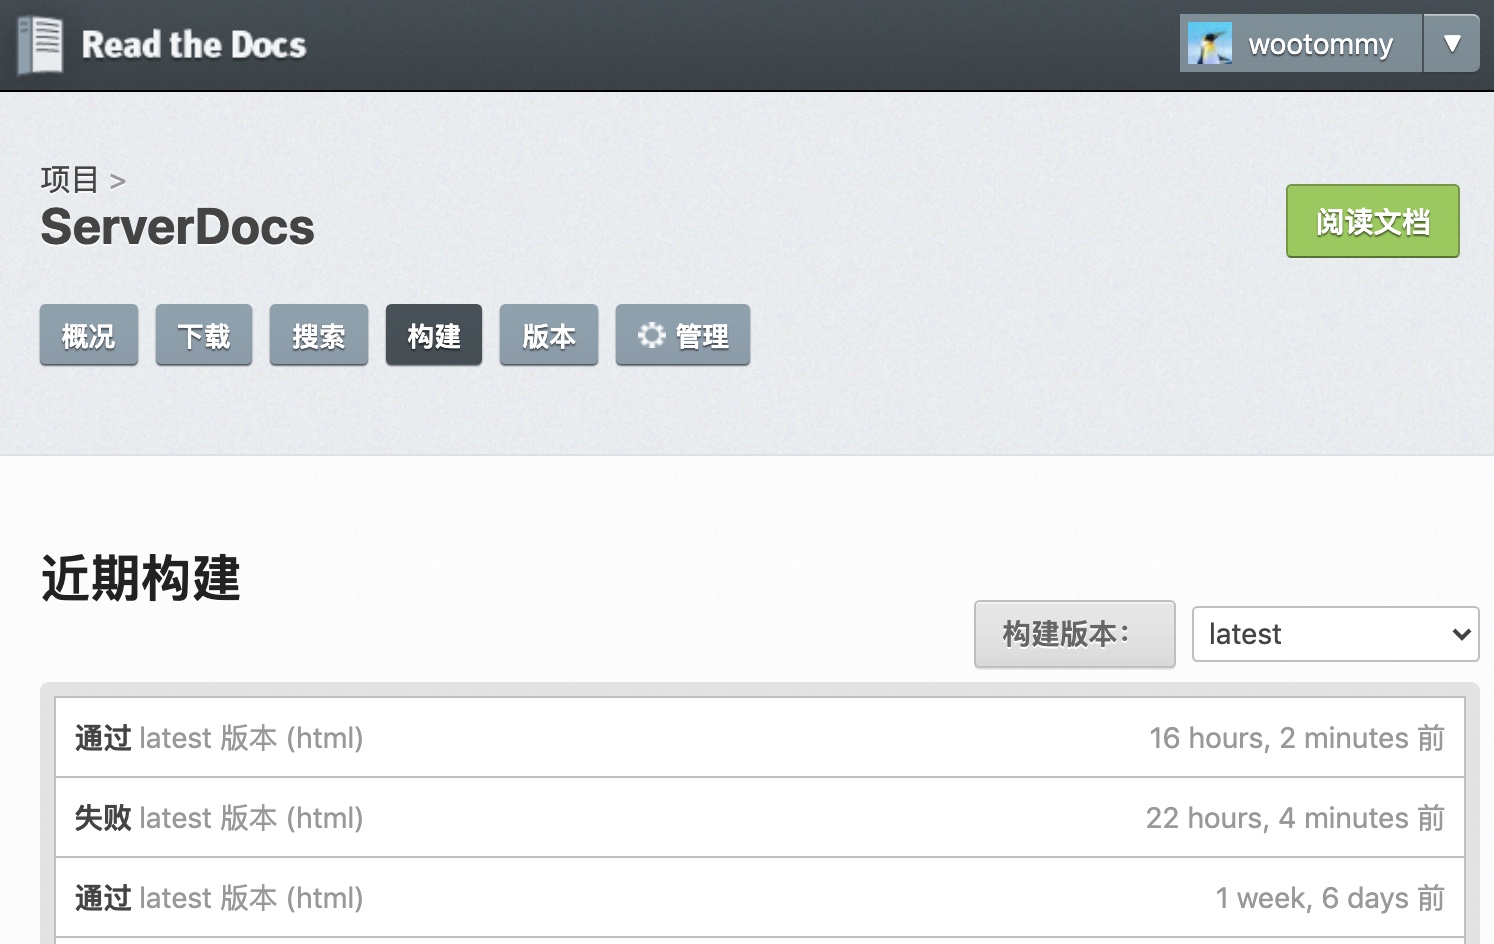
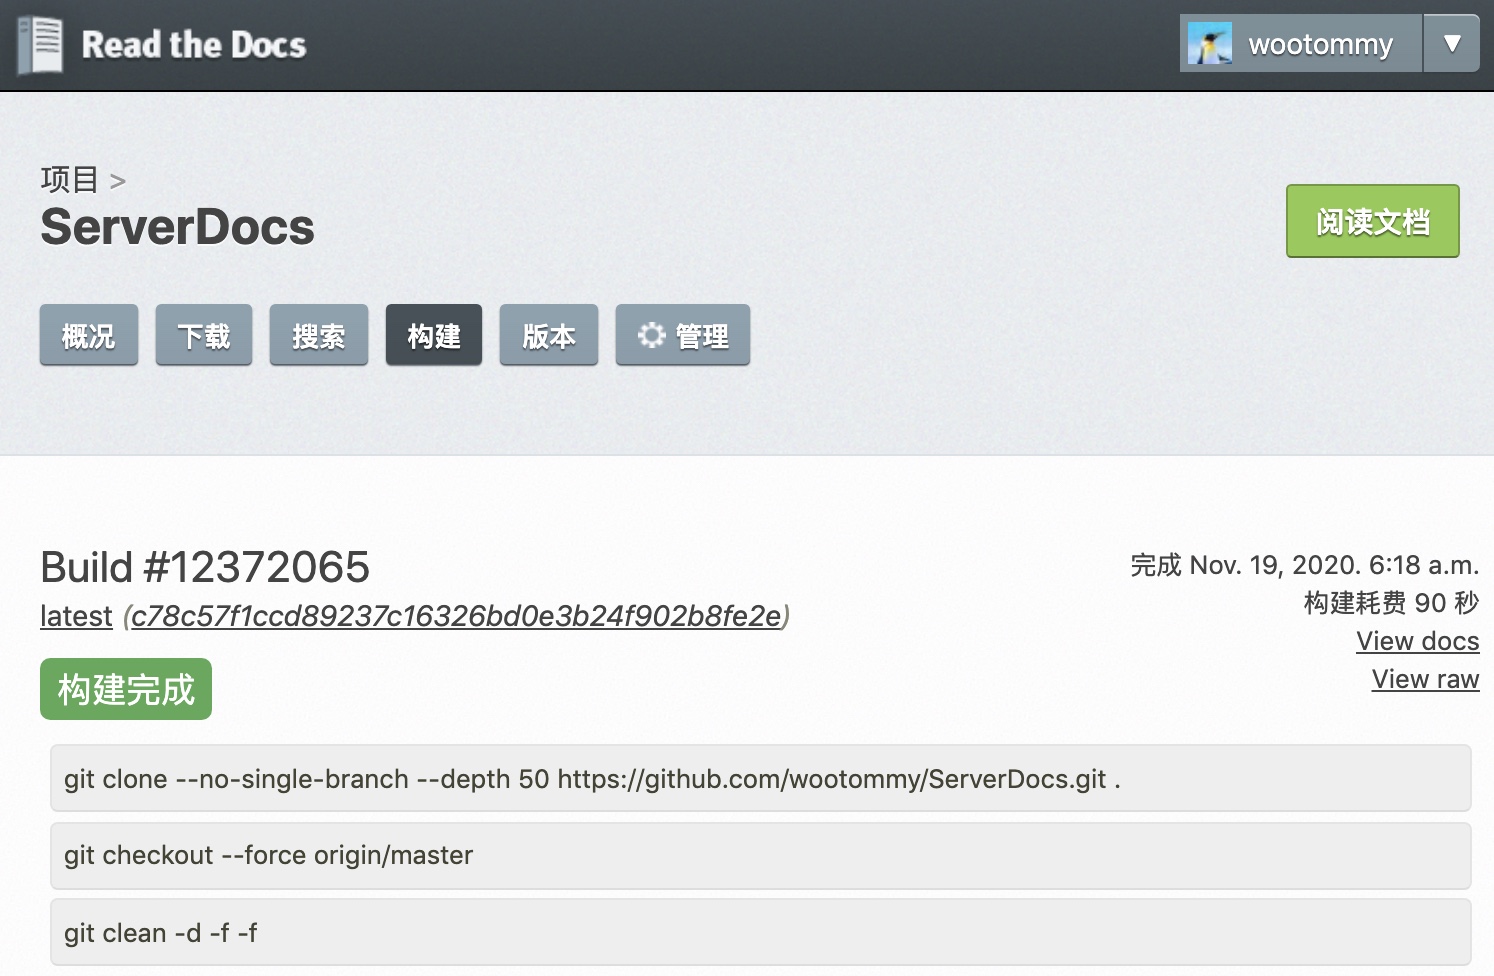
Read the Docs 托管文档
这个有点像大家熟悉的 Github Pages,都是托管站。可以理解为免费的服务器,通过链接 GitHub 项目,生成对应内容发布到服务器,实现在线访问。所有过程都是免费、自动的,每次我们 commit 他都会自动触发更新,几分钟内就可以将改动同步到在线网站。
Note
联想到之前在 SAP 实习时候公司使用的 [CI/CD](https://www.redhat.com/zh/topics/devops/what-is-ci-cd) 流程。
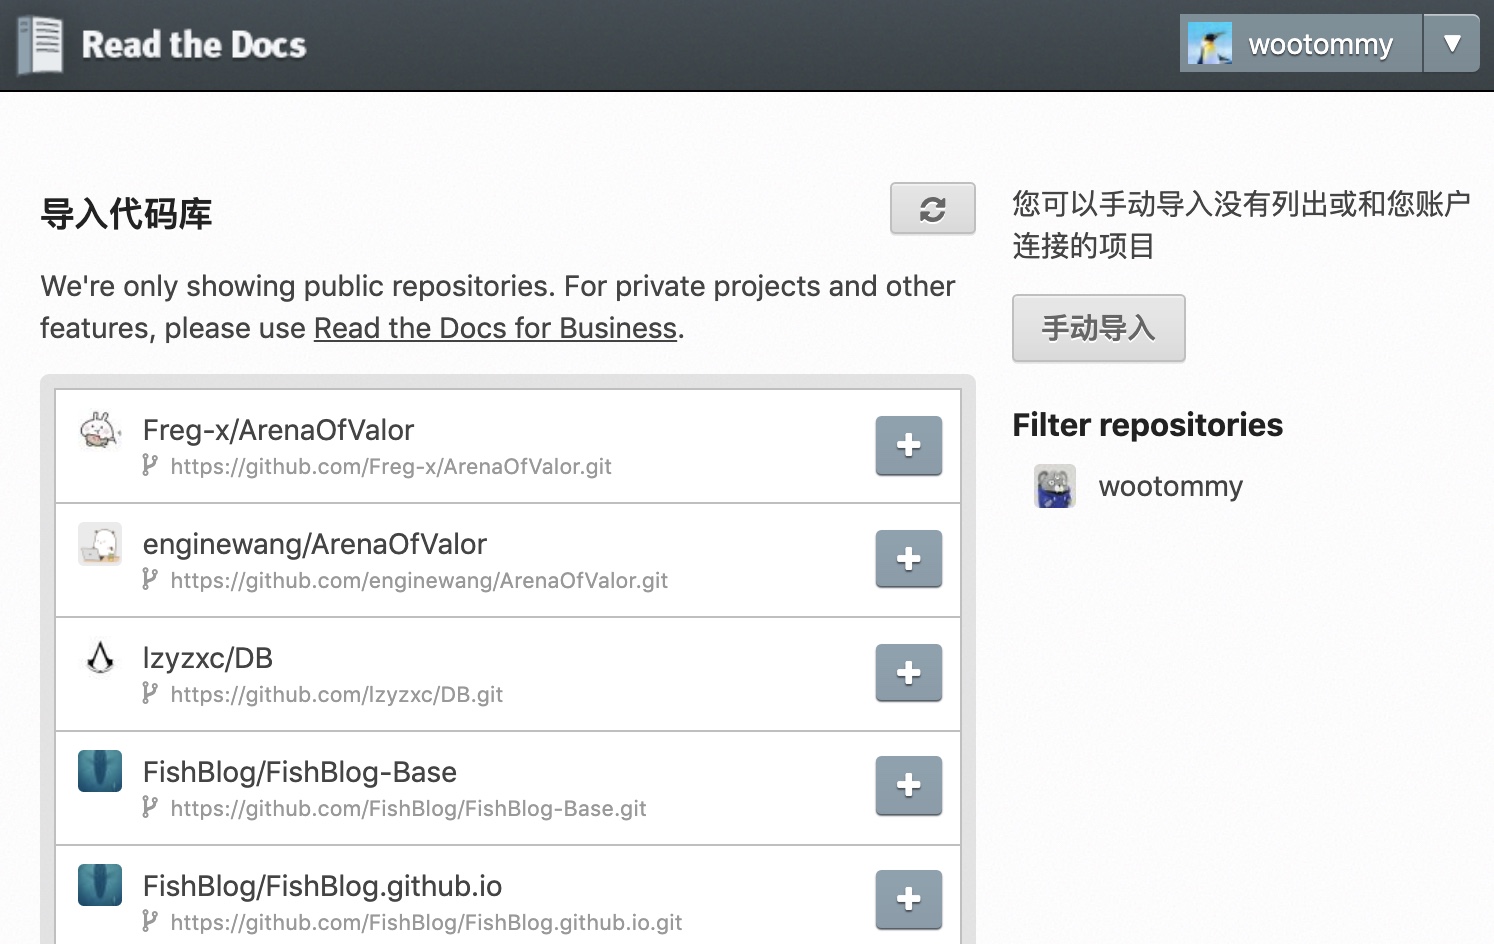
登录到管理面板页面。
导入新的项目。可以选取列表里列出的项目,或者手动进行导入。
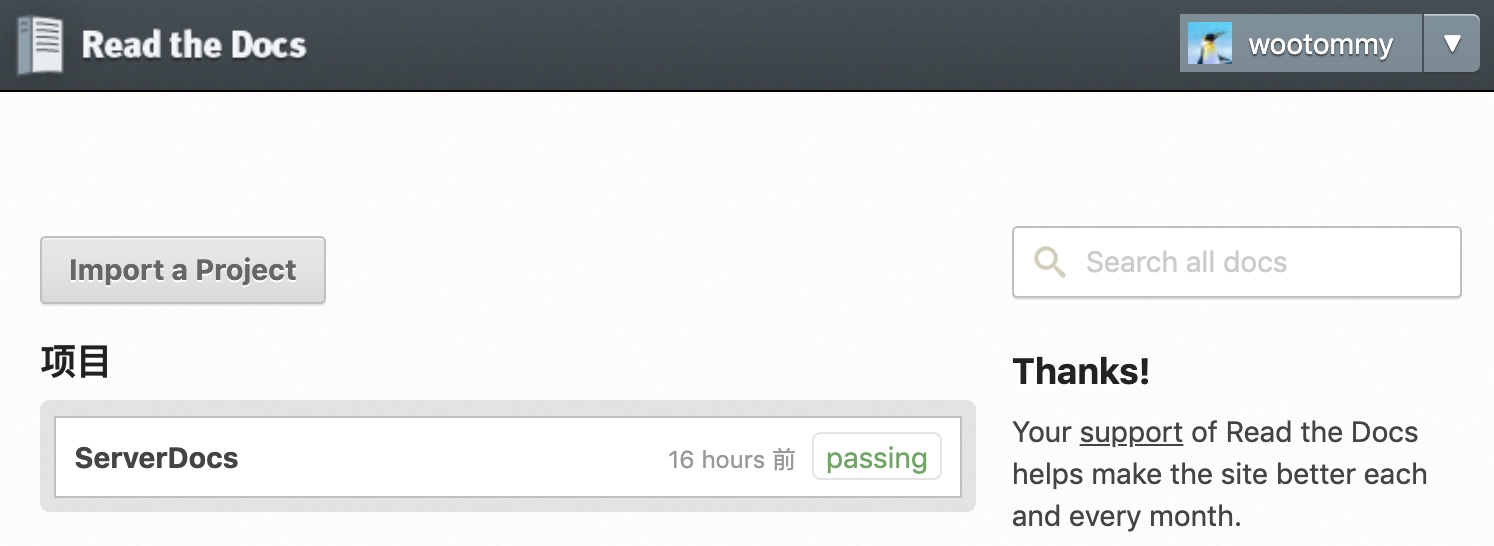
导入成功后,项目会自动进行 build 与 release,一般在几分钟内就能够完成,可以在详情页面查看到 build 日志与相应的项目文档地址。
以上就是关于本 442 服务器在线文档搭建的主要流程。